

Key Takeaways
- Flooring is the single most critical line item. At an average of $2.93 per square foot for gym flooring in 2026, a 10 foot by 20 foot garage will cost roughly $586 for flooring alone. Plan this expense before buying any equipment.
- Stall mats at $2.38 per square foot offer the best balance of durability and cost for heavy lifting zones. foam puzzle mats at $1.12 per square foot are only suitable for bodyweight work and stretching areas.
- Hidden costs like shipping, adhesive, cutting tools, and odor mitigation can consume 15 to 30 percent of a sub $1,000 budget. Local pickup for heavy materials eliminates the biggest surprise expense.
- Quick budget snapshot and how to use this guide
- Flooring first: pick by use case
- Stall mats vs rolls vs puzzle foam: pros, cons, and selection checklist
- Top complaints about cheap setups and affordable fixes
- Hidden costs beginners under $1,000 routinely miss
- Essentials often omitted by budget guides: ventilation, storage, and safety
- 10 foot by 20 foot layout plan: deadlift platform plus pull up
- Minimal gear list for a workout ready garage
- Budget tier scenarios and sample cost allocations
- Quick how to callouts for installation and safety checks
- Closing checklist: printable buying and install checklist
Quick budget snapshot and how to use this guide
Building a garage gym setup budget that actually works means accepting one truth upfront: most of your money goes to flooring and the barbell plus plates combo. Everything else is secondary. This guide walks you through the real numbers from 2026 flooring data so you can make informed choices and avoid the expensive mistakes that plague first time builders.
At a 2026 average gym flooring cost of $2.93 per square foot, covering a single car garage measuring 10 feet by 20 feet, or 200 square feet, will set you back roughly $586 for flooring alone. That number shifts depending on material choice. Budget puzzle foam lands at $1.12 per square foot while interlocking rubber tiles climb to $5 to $10 per square foot. Knowing these figures upfront prevents the all too common scenario where someone spends $900 on a barbell and rack, then realizes they cannot protect their concrete slab.
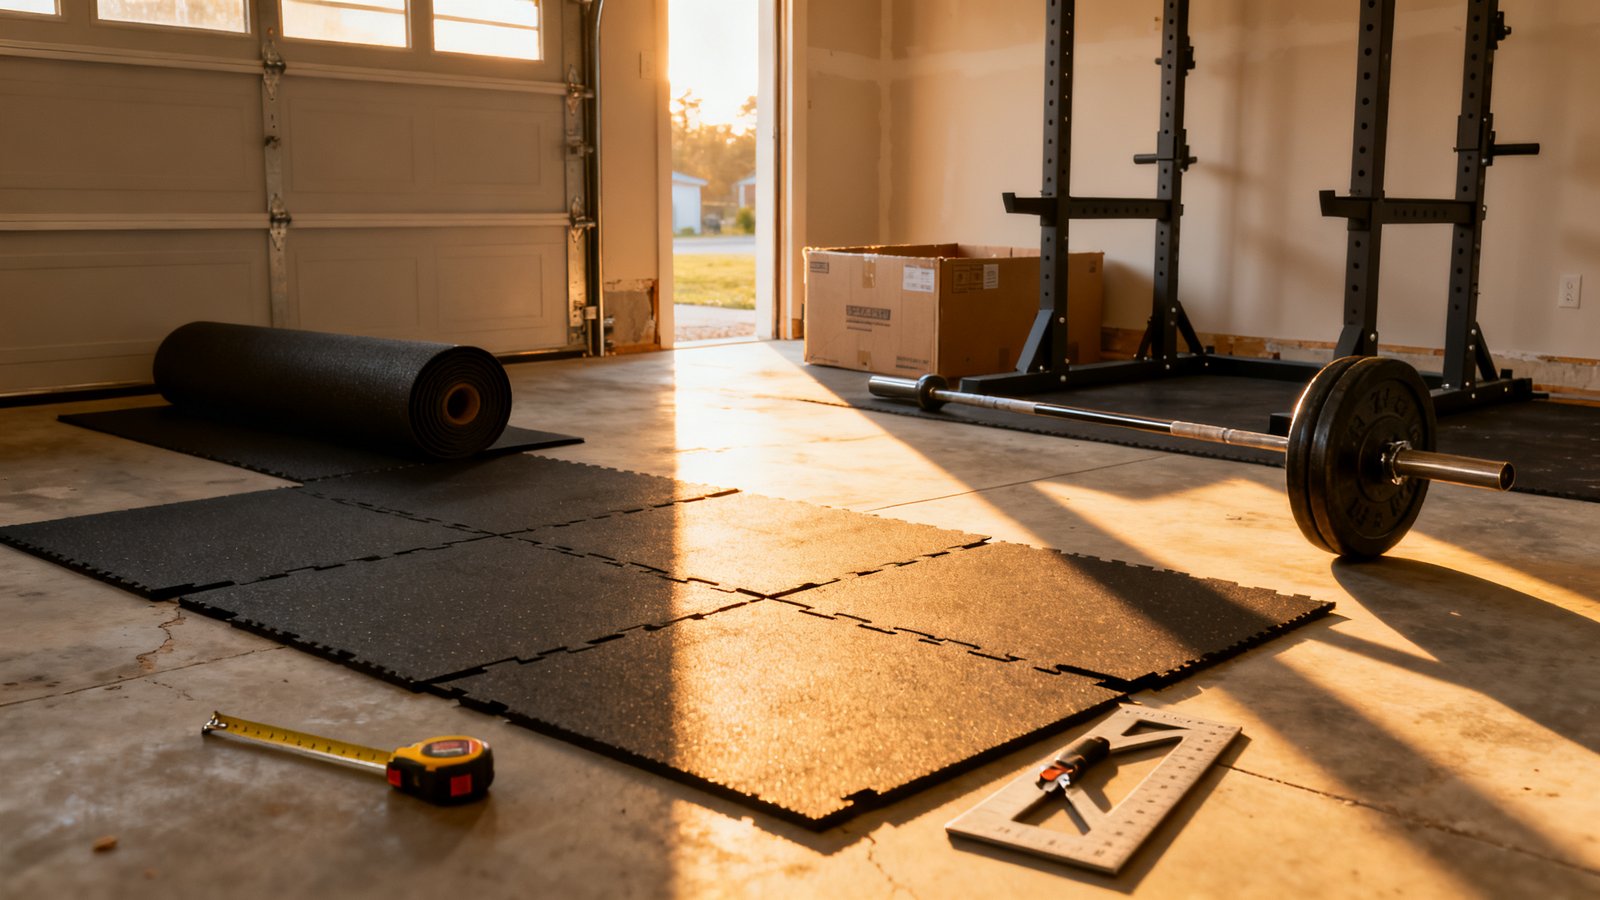
A $500 budget can cover flooring and a basic barbell with plates if you buy used and pick up locally. A $1,000 budget opens the door to a proper rack, a deadlift platform, and mid tier flooring. At $1,500 you can add storage, better ventilation, and perhaps an adjustable bench. If you are starting from scratch, read our breakdown on home gym under 500 dollars for the entry level path.
The smartest sequence is flooring first, then barbell and plates, then rack, then platform, then storage. Rushing to buy equipment before the floor is ready leads to cracked concrete and regrets. Prioritize protecting your space and your gear will follow.
Flooring first: pick by use case
Flooring is not optional. Concrete cracks under dropped weights, equipment slides on bare slabs, and moisture from the ground can rust your barbell over time. The type of flooring you choose must match what you plan to do in the garage. Heavy deadlifts demand thick rubber. Bodyweight circuits and yoga can get by with far less.
For anyone planning to deadlift, squat heavy, or use iron plates, rubber is the only safe choice. Stall mats at $2.38 per square foot from retailers like Tractor Supply offer ¾ inch thickness and recycled rubber construction that absorbs impact. Rubber rolls from Flooring Inc range from $2.25 to $3.00 per square foot depending on thickness and come in longer continuous sheets, which means fewer seams. Both options protect concrete from dropped loads exceeding 400 pounds.
If your garage gym will only see bodyweight exercises, kettlebells that never get dropped, or light dumbbell work, foam puzzle mats at $1.12 per square foot become viable. They cushion falls during floor exercises and insulate against cold concrete. Just know their limits: they compress permanently under point loads and offer zero protection for dropped plates. Our home gym essentials list covers which activities demand which surfaces in greater detail.
Stall mats vs rolls vs puzzle foam: pros, cons, and selection checklist
Choosing the right flooring material means weighing durability against cost and installation effort. The table below breaks down the three main contenders using 2026 price data from Garage Gym Reviews and real world feedback from home gym builders.
| Material | Cost per sq ft (2026) | Best For | Biggest Drawback |
|---|---|---|---|
| Puzzle foam (ProsourceFit, ½ inch) | $1.12 | Bodyweight, yoga, stretching, light cardio | Compresses permanently under weight; seams tear apart |
| Stall mats (Tractor Supply, ¾ inch) | $2.38 | Heavy lifting, deadlifts, rack work, dropped plates | Strong rubber odor; heavy at ~100 lbs per 4’×6′ mat |
| Rubber rolls (Living.Fit, 8MM) | $2.24 to $3.00 | Full floor coverage, minimal seams, heavy lifting | Shipping costs can equal the product price; difficult to cut |
| Interlocking rubber tiles | $5.00 to $10.00 | Premium finish, easy to replace single tiles | High upfront cost; edges can lift over time |
Stall mats are the go to recommendation for anyone on a strict garage gym setup budget. They cost roughly half what interlocking tiles run and they match the performance of rubber rolls at a fraction of the shipped price, assuming you can transport them locally. A single 4 foot by 6 foot stall mat covers 24 square feet, so covering 200 square feet requires about nine mats at a total cost near $514. That leaves room in a $1,000 budget for equipment.
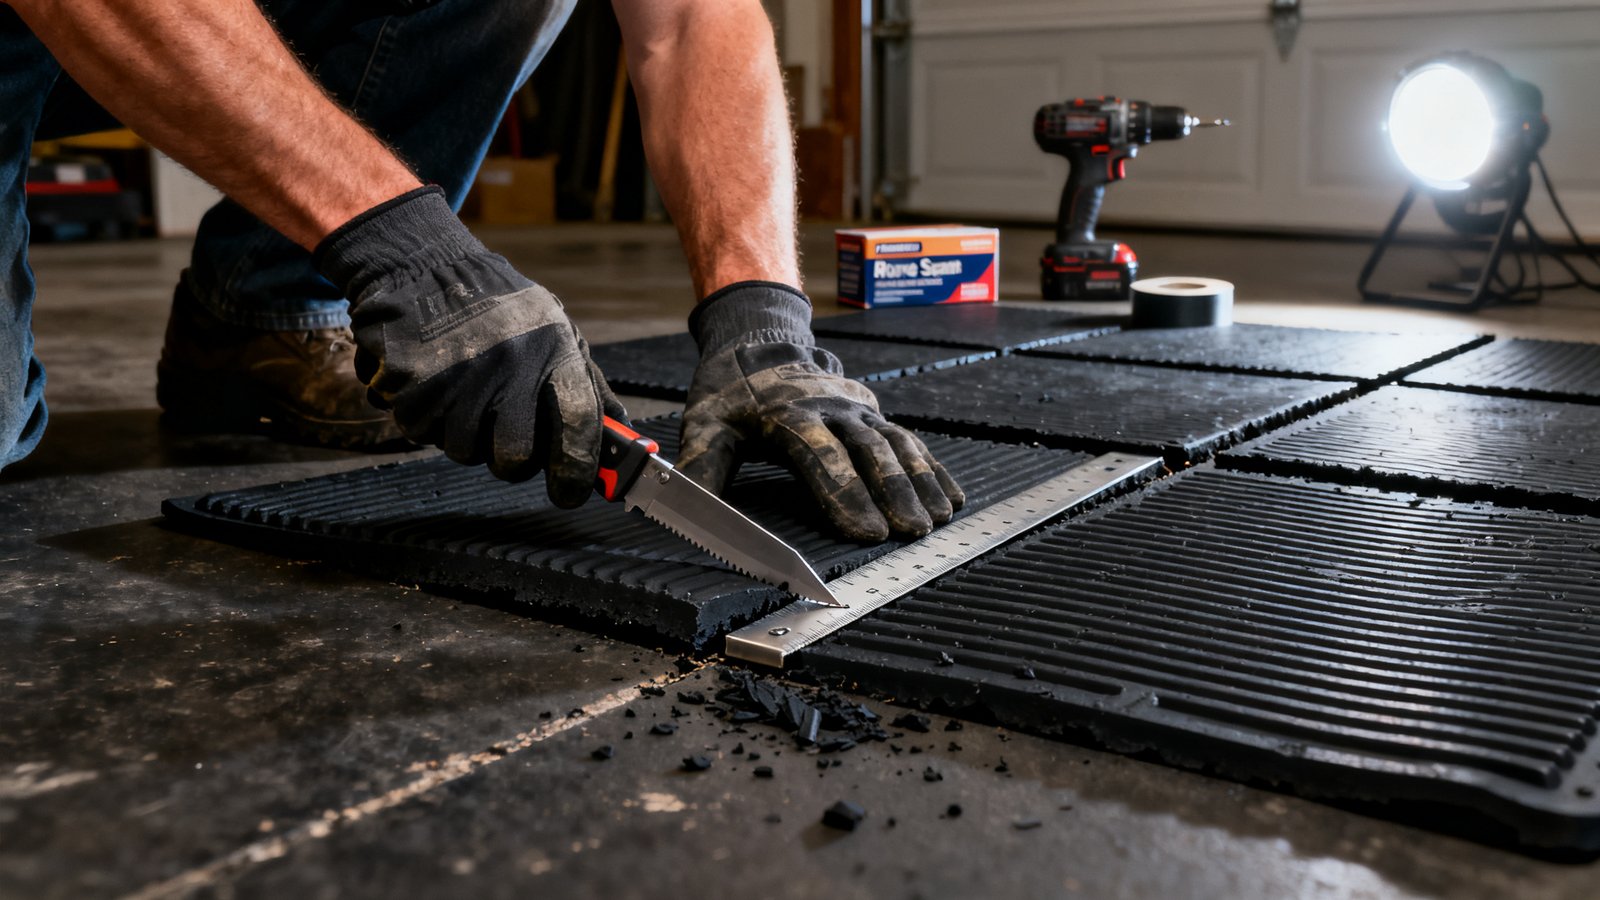
Installation matters as much as the material choice. Stall mats need to be cut with a sharp utility knife and a straight edge. Cut on a scrap board to open the seam cleanly. Seams between mats should be taped with gorilla tape or secured with mending plates underneath to prevent shifting. Rubber rolls demand even more precision and often require adhesive for a permanent install. Puzzle foam simply snaps together, which is its one clear advantage.
Top complaints about cheap setups and affordable fixes
Budget builds fail in predictable ways. Knowing the most common failure points lets you spend wisely on prevention rather than paying twice for replacements. Here is what breaks first and how to fix it without blowing your garage gym setup budget.
Foam puzzle mats compress and leave permanent imprints from barbells, dumbbells, and even heavy footsteps over time. The interlocking edges tear when mats shift during dynamic movements. Cleaning becomes a headache because the porous surface traps sweat and dirt. The fix is simple: use foam only in zones where no heavy equipment rests. Reserve rubber for every area where plates or bars might contact the floor. Check our home gym mistakes guide for more pitfalls that cost beginners hundreds.
Stall mats come with their own set of complaints. The rubber smell can be overwhelming, especially in a closed garage. Each 4 foot by 6 foot mat weighs around 100 pounds, making solo transport and placement a serious workout before your workout even starts. Mats shift over time, particularly if a car parks on them, and temperature changes cause expansion gaps. The remedies are straightforward: air out new mats outdoors for three to five days, use a hand truck or enlist a friend for moving, and tape seams with heavy duty gorilla tape. For shifting, a simple wooden perimeter frame anchored to the concrete with tapcon screws keeps everything locked in place.
Vendor related problems also plague budget builds. Reports on Reddit document Flooring Inc orders arriving late, custom cut lengths being inaccurate, and customer service being difficult to reach. Some rolls showed up with grease spots that required cleaning before installation. The safest move for budget builders is buying heavy flooring locally where you can inspect the product before paying and avoid shipping costs altogether.
Hidden costs beginners under $1,000 routinely miss
The price tag on flooring and equipment is only part of the real total. Beginners consistently overlook a handful of line items that can push a $1,000 project well into $1,300 territory. Anticipating these costs keeps your garage gym setup budget honest.
Shipping for rolled rubber flooring is the biggest hidden expense. Gray Matter Lifting notes that shipping heavy rubber rolls from East Coast warehouses to California can cost as much as the flooring itself. For a $400 roll order, expect to pay another $300 to $400 in freight. Local pickup at a farm supply store eliminates this cost entirely.
Adhesive and glue are the next shock. If you choose rubber rolls and want a permanent, non shifting installation, urethane glue can exceed $600 for a full garage application according to 2026 reports. Even double sided carpet tape for securing individual mats adds $30 to $50. Cutting tools also add up: a quality utility knife, spare blades, a straight edge long enough for 4 foot cuts, and possibly a jigsaw for detailed trimming around obstacles.
Deadlift platform materials are another overlooked expense. A basic 4 foot by 8 foot platform requires two sheets of ¾ inch plywood, a nicer top sheet, and rubber matting for the sides. Expect to spend $150 to $200 on materials alone. Smell mitigation for rubber products may require ventilation time or products, and returns for damaged or incorrect flooring often carry restocking fees.
Essentials often omitted by budget guides: ventilation, storage, and safety
Most budget guides stop at flooring and equipment. The three items that determine whether your garage gym remains usable month after month are ventilation, storage, and safety. Ignore them and you will face rust, clutter, and avoidable injuries.
Ventilation tackles two problems at once: rubber off gassing and climate control. New stall mats release volatile organic compounds that can make a sealed garage unpleasant. Opening the garage door and running a box fan costs nearly nothing and clears odors within a week. For long term climate management, Gray Matter Lifting mentions installing a mini split system, which is a $1,500 to $3,000 investment worth planning for even if you cannot afford it upfront. In the meantime, a simple box fan paired with the open garage door handles both smell and airflow.
Storage keeps your limited 10 foot by 20 foot space functional. Plates left on the floor eat walking clearance and create trip hazards. Wall mounted plate trees cost $40 to $80 and free up six to eight square feet instantly. Vertical barbell storage sleeves mount to walls or rack uprights and keep bars off the floor where they collect moisture. DIY options like a simple 2 by 4 plate rack cost under $20 in lumber and screws. Our best pull up bar home guide includes wall mounted options that double as storage anchors.
Safety covers three bases: stable footing, secure equipment, and emergency clearance. Rubber flooring provides grip even when sweating. A properly anchored rack or pull up bar prevents catastrophic failures during use. And maintaining at least 30 inches of walking clearance around your platform ensures you can bail safely from a failed lift without tripping over stored items. These precautions cost little and prevent the injuries that derail training consistency.
10 foot by 20 foot layout plan: deadlift platform plus pull up
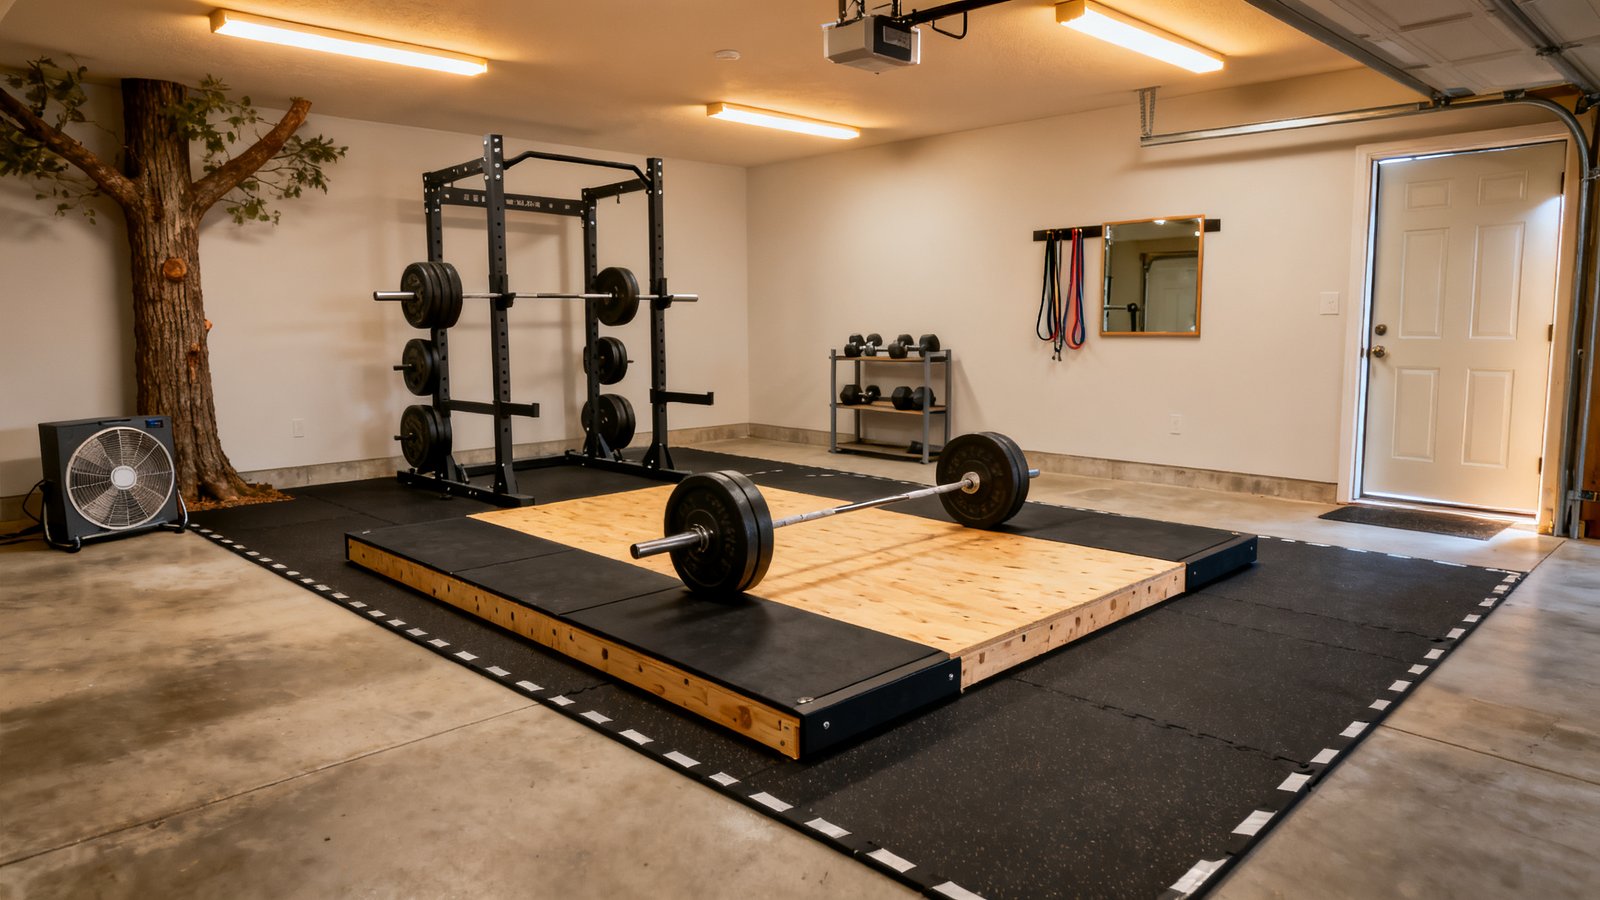
A single car garage measuring 10 feet wide by 20 feet deep can accommodate a full strength setup with smart zoning. The key is placing the deadlift platform along one wall and the rack with pull up bar against the opposite wall, leaving the center open for movement and optional parking.
Position a 4 foot by 8 foot deadlift platform along the back wall, centered side to side. This leaves 3 feet of clearance on each side for plate loading and walking. The platform itself uses two sheets of ¾ inch plywood as the base, a finished top sheet, and rubber stall mat strips on the sides where plates land. Horse stall mats are 4 feet by 6 feet, so cutting one mat into two 2 foot by 6 foot strips yields perfect side panels for the platform.
The rack sits roughly 8 to 10 feet from the back wall, facing the platform. Choose a rack with an integrated pull up bar to save space and eliminate the need for a separate wall mounted unit. If your rack lacks a pull up bar, mount a wall mounted pull up bar on the side wall at roughly 7 feet high, ensuring 18 to 24 inches of clearance from the wall for kipping movements. For more space saving ideas, see our home gym small space layout strategies.
Plate storage goes on the wall nearest the rack, either on a wall mounted tree or on the rack’s own plate storage pegs if equipped. This keeps the center aisle open for walking and for pulling a car in if needed. If you must park a car in the garage, glue down the mats in the parking zone or use a single large rubber roll to prevent shifting under tire torque.
Flooring zone recommendations: rubber stall mats under the rack and platform area, covering roughly 120 square feet. The remaining 80 square feet at the front of the garage can use thinner rubber or even remain bare concrete if budget is tight, since no weights will contact that zone.
Minimal gear list for a workout ready garage
Buy in this order and stop when your budget runs dry. Each step builds on the previous one, so you can train productively even if you cannot afford the full list immediately. For strength training fundamentals, our strength training at home beginners guide complements this equipment progression.
Step one: flooring in your primary lifting zone. Calculate square footage, multiply by your chosen material cost per square foot, and purchase locally if possible. For a 120 square foot lifting zone using stall mats at $2.38 per square foot, budget $286. This protects your concrete and your equipment from day one.
Step two: a barbell and plates. A used Olympic barbell runs $100 to $150 on classifieds. Used iron plates typically sell for $0.50 to $0.70 per pound. A 300 pound set costs $150 to $210 used. If new is your only option, budget closer to $350 for an entry level barbell and 300 pound plate set. Best adjustable dumbbells can substitute for plates in the early stages if space or budget demands it, though they limit your maximum loading.
Step three: a rack with pull up bar or a standalone squat stand. A basic squat stand with spotter arms costs $200 to $300 new. Full power racks with integrated pull up bars start around $350. Used racks frequently appear for $150 to $200 on local marketplaces when people move or upgrade.
Step four: platform edge protection and seam taping. Budget $30 for gorilla tape and, if needed, mending plates. Step five: storage solutions. A wall mounted plate tree and barbell holder total roughly $60 to $100 if bought new, or build your own from lumber for under $30.
Budget tier scenarios and sample cost allocations
Here are three realistic budget breakdowns using 2026 pricing data. Each assumes a 200 square foot garage with a 120 square foot primary lifting zone. All equipment prices reflect typical used market rates unless noted as new.
Conservative build, roughly $500: Flooring for 120 square feet using puzzle foam at $1.12 per square foot costs $134. Skip rubber entirely for now and do not drop weights. Used barbell and 200 pounds of plates: $200. Used squat stand: $100. Remaining $66 covers tape, a box fan for ventilation, and a DIY plate rack. This setup works for squats, presses, rows, and bodyweight work but cannot handle deadlifts with dropped reps.
Balanced build, roughly $1,000: Stall mats for 120 square feet at $2.38 per square foot: $286. Used barbell and 300 pound plate set: $250. Used power rack with pull up bar: $200. Deadlift platform materials: $150. Seam tape and cutting tools: $40. Box fan: $25. Wall mounted plate storage: $50. This setup handles heavy deadlifts safely and includes pull up capability. Total: $1,001.
Upgraded build, roughly $2,000: Rubber rolls for full 200 square feet at $2.75 per square foot: $550, with local pickup to avoid shipping. New mid range barbell: $250. New bumper plate set, 260 pounds: $400. New power rack with pull up bar: $400. Deadlift platform materials: $180. Premium seam tape, adhesive, cutting tools: $80. Wall storage system: $100. Mini split climate control fund set aside: $40 toward future install. Total: $2,000.
Quick how to callouts for installation and safety checks
Cutting stall mats: use a sharp utility knife with a fresh blade. Place the mat on a scrap piece of plywood or a 2 by 4 underneath the cut line. Score the mat deeply with the first pass, then make two or three more passes to cut through completely. A straight edge or level clamped to the mat prevents wandering cuts. Wear gloves: the friction from cutting generates heat and the rubber edge can be abrasive.
Taping seams: clean the mat edges with rubbing alcohol and let dry. Apply gorilla tape centered over the seam, pressing firmly with a roller or the back of a screwdriver handle. For high traffic seams, place galvanized mending plates underneath the mats before taping the top. This double sided approach prevents the most common failure point in budget flooring installs.
Building a 4 foot by 8 foot platform: lay two sheets of ¾ inch plywood perpendicular to each other and screw them together every 12 inches. Place a finished top sheet of nicer plywood or MDF on top, screwed from underneath for a clean surface. Cut two stall mat strips 2 feet wide by 8 feet long and attach them to the sides of the platform with construction adhesive and screws with washers. Let adhesive cure for 24 hours before lifting on it.
Ventilating new mats: leave stall mats outdoors in direct sunlight for three to five days before bringing them inside. Sunlight and airflow accelerate the off gassing process significantly. If outdoor space is not available, place mats in the garage with the door fully open and a box fan blowing across them for a full week. Wash mats with a mild soap and water solution to remove surface residue from manufacturing.
Safety verification: after installing any rack or pull up bar, hang from it with your full body weight plus 50 extra pounds of plates in a backpack before trusting it for dynamic movements. Check all bolts weekly for the first month as the hardware settles. Ensure at least 30 inches of clear floor space around your lifting platform for safe bail out paths.
Closing checklist: printable buying and install checklist for a budget build
Work through this list in order. Every checkmark moves you closer to a durable, safe, and functional garage gym setup budget that stays under your target number.
- Measure the exact interior dimensions of your garage in feet. Multiply length by width to get total square footage.
- Decide which zones get heavy rubber, which get light flooring, and which stay bare. Mark the lifting zone square footage separately.
- Calculate flooring cost by multiplying your lifting zone square footage by the chosen material cost per square foot. Use $2.38 for stall mats or $1.12 for puzzle foam as baselines.
- Add 10 percent extra square footage for cutting mistakes and future repairs.
- Compare local pickup prices at farm supply stores against shipped options. Factor in shipping costs if ordering online.
- Set aside $40 to $60 for tape, utility blades, a straight edge, and other installation consumables.
- Choose your primary equipment: barbell and plates first, rack second, pull up solution third. Price both new and used options.
- Allocate $150 to $200 for deadlift platform materials if you plan to deadlift heavy or use iron plates.
- Budget $25 for a box fan to handle initial rubber odor and ongoing ventilation.
- Plan storage before buying it: measure wall space for plate trees and barbell holders.
- Total all line items and compare against your target budget. Adjust material grades or equipment sources as needed.
- Purchase flooring first. Install it. Let it air out. Only then buy and assemble equipment on the protected surface.
This checklist keeps your spending intentional and your build sequence logical. The average gym flooring anchor of $2.93 per square foot serves as your quick calculation baseline: for 200 square feet, expect roughly $586. If your flooring number plus the glue and shipping estimates pushes past 60 percent of your total budget, scale back the square footage you cover with premium rubber and use cheaper materials in low impact zones.
Frequently asked questions
How much does it cost to set up a garage gym on a strict budget?
A functional garage gym can be built for roughly $500 if you use foam flooring in non impact zones, buy a used barbell and plates, and source a secondhand squat stand. At $1,000 you can include stall mat flooring, a deadlift platform, and a rack with pull up bar. The single biggest variable is flooring choice. Stall mats at $2.38 per square foot for a 120 square foot lifting area cost $286, while full rubber rolls can exceed $600 with shipping.
What is the best flooring for a budget garage gym?
Stall mats offer the best combination of durability and price at $2.38 per square foot in 2026. They are ¾ inch thick recycled rubber that absorbs impact from dropped weights and protects concrete. Puzzle foam at $1.12 per square foot is cheaper but compresses permanently under heavy loads and offers no drop protection. Interlocking rubber tiles at $5 to $10 per square foot provide a cleaner look but cost significantly more for the same performance.
Can I use foam puzzle mats for weightlifting?
Foam puzzle mats are not suitable for any activity involving dropped weights or heavy point loads. They compress and leave permanent imprints from barbells and dumbbells. Their interlocking edges tear apart under lateral stress from dynamic movements. Reserve foam mats for bodyweight exercises, stretching, yoga, and light cardio only. For weightlifting, use rubber stall mats or rubber rolls at minimum.
What equipment should I buy first for a garage gym?
Buy flooring first to protect your concrete slab. Then acquire a barbell and plates, which open up the widest range of strength exercises. A rack or squat stand comes third, enabling safe squatting and bench pressing. A pull up bar, either integrated into the rack or wall mounted, should follow. Storage solutions for plates and bars come last but prevent clutter and safety hazards. Used equipment from local classifieds can cut these costs by 40 to 60 percent.
How do I get rid of the strong rubber smell from new stall mats?
Place new stall mats outdoors in direct sunlight for three to five days. Sunlight and airflow accelerate the off gassing of volatile organic compounds. If outdoor space is unavailable, leave mats in the garage with the door fully open and a box fan blowing across them for a full week. Washing mats with a mild soap and water solution removes surface manufacturing residue that contributes to the odor. The smell diminishes significantly after two to three weeks of regular ventilation.