

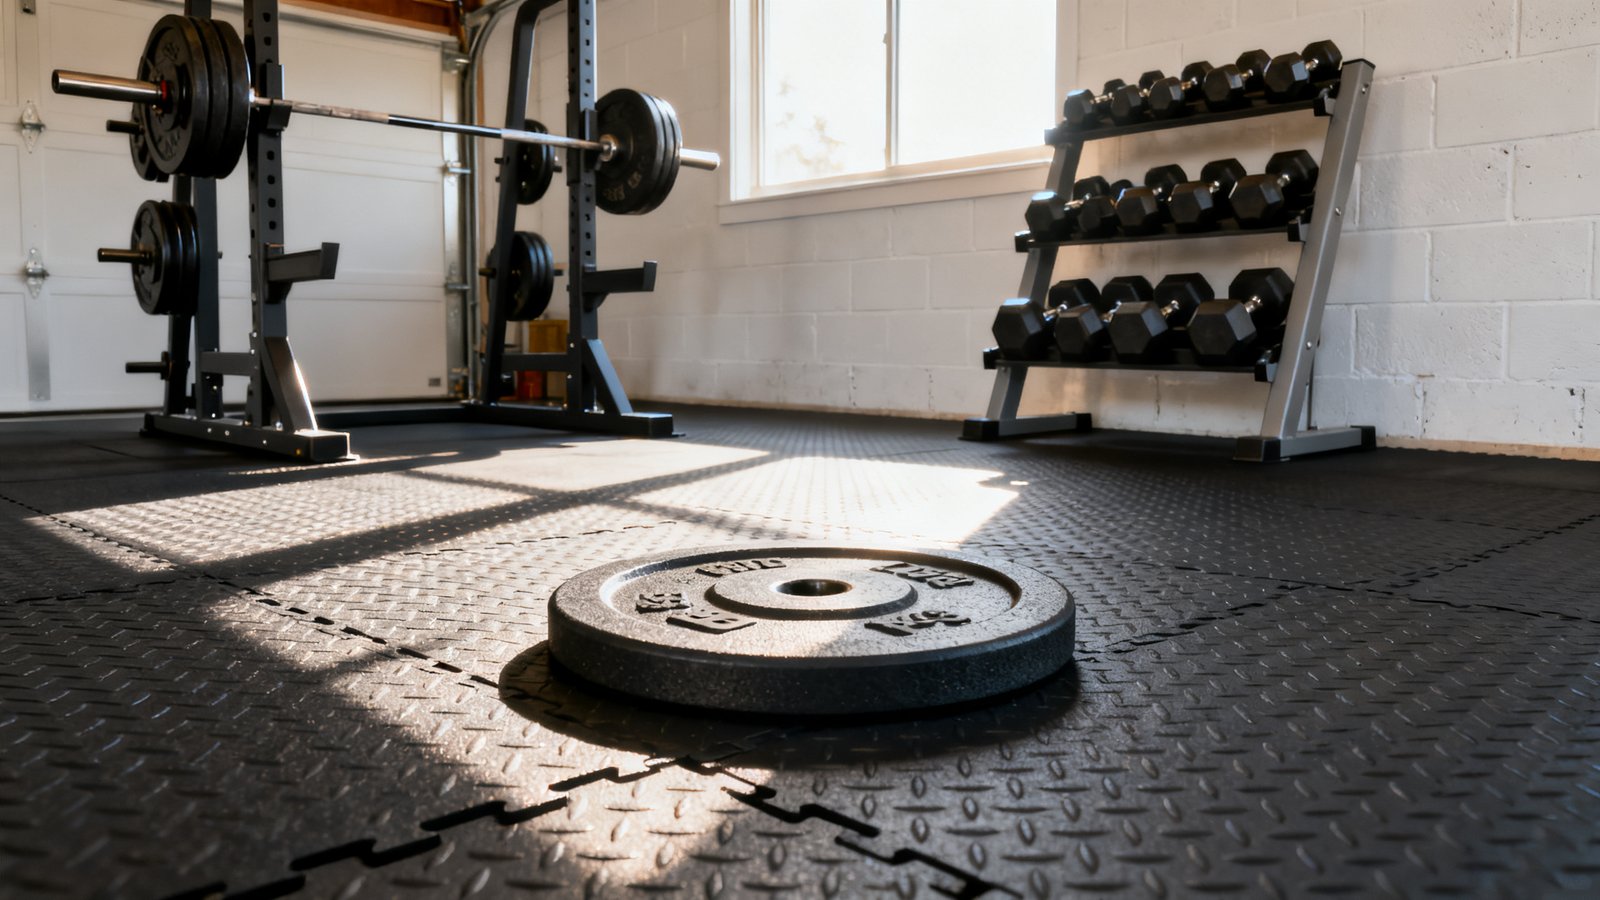
The right home gym flooring stops your deadlift platform from cracking the concrete and keeps your downstairs neighbor from filing a noise complaint. Get it wrong and you are either replacing chipped concrete, dealing with a permanent rubber smell, or realizing too late that your “bargain” mats slide apart every workout. This guide strips away the marketing fluff and gives you the exact thickness numbers, real price per square foot, and the installation trade offs nobody talks about. We will help you decide between cheap stall mats and premium interlocking tiles based on your actual training style, not someone else’s.
Key Takeaways
- For heavy deadlifts and frequent barbell drops, you need a minimum of 1/2 inch (12 mm) rubber thickness to protect concrete. Combine this with a lifting platform for catastrophic drop protection.
- Cheap stall mats cost as little as $2.38/sq ft but are bulky, hard to cut, and can off-gas a strong smell. Premium interlocking tiles run $5–$10/sq ft and install tool free but have more seam lines.
- No home gym flooring product provides a specific, guaranteed decibel reduction. Realistic noise dampening relies on mass (thick rubber), density, and decoupling the weight from the subfloor.
Table of Contents
- Why your choice of home gym flooring matters
- Quick cost comparison — cheap garage mats vs premium interlocking tiles
- Materials and formats explained (rolls, stall mats, interlocking tiles, puzzle mats)
- Installation difficulty vs durability — the real trade-off
- How thick should your flooring be? Protecting concrete and equipment
- Realistic expectations for noise reduction
- Top complaints and failure modes to avoid
- Cost + performance decision guide
- Installation tips, tools, and time estimates
- Maintenance, longevity, and replacement risk
- Quick buying checklist & 5 questions to ask before you buy
- Final recommendations & next steps
- Frequently Asked Questions
Why your choice of home gym flooring matters
Your floor does two jobs and you cannot optimize for one without sacrificing the other. The first job is structural protection. A 100 lb barbell loaded with iron plates dropped from waist height generates enough point load to crater a standard residential concrete slab. The second job is vibration and noise transmission. Impact noise travels through rigid materials and a concrete slab acts like a giant soundboard, amplifying the thud into the rooms below or the attached house.
These two goals pull your flooring choice in opposite directions. A thin, ultra dense rubber mat might stop a chip but will transmit nearly all the vibration straight down. A soft, thick foam tile might hush the noise but will tear or compress under heavy load, leaving your concrete exposed. The best flooring for home gym use is a material that resists compression while having enough mass to absorb kinetic energy. This is why thickness and material density are your non negotiable specs. As noted by industry guides, you should not drop a loaded barbell on anything less than 3/8 inch (about 9.5–10 mm) of rubber, and 1/2 inch (12 mm) to 3/4 inch (19 mm) is the sweet spot for frequent heavy training. Below that, you are betting your concrete slab on a maybe.
Quick cost comparison — cheap garage mats vs premium interlocking tiles
If you are building a budget garage gym setup, the price gap between commodity stall mats and premium interlocking tiles is the first sticker shock you will hit.
At the low end, a 3/4 inch rubber stall mat from Tractor Supply runs roughly $2.38 per square foot. For a standard 12 ft by 10 ft platform area, that is about $285 before tax. At the high end, a premium interlocking tiles like the Living.Fit line costs between $5 and $10 per square foot depending on thickness and finish. That same 120 sq ft area now lands between $600 and $1,200. You are paying an extra $2.62 to $7.62 for every single square foot under your rack.
What does that extra money actually buy you beyond a prettier edge? First, you get dimensional stability. Cheap stall mats are notoriously irregular and the edges can curl. Second, you get a locking mechanism that prevents gaps from forming over time. Third, you get a factory cut finish that looks intentional in a finished living space, not just a farm supply store remnant parked on your concrete. The question is whether those things matter more than the $300 to $900 you keep in your pocket. For a pure beater garage where aesthetics do not count, stall mats win. For a multi use room or an apartment home gym where the floor is also your living space, premium interlocking tiles make a stronger case.
Materials and formats explained (rolls, stall mats, interlocking tiles, puzzle mats)
You have four realistic format choices and three of them will actually work under a barbell.
Rubber Rolls: Rubber rolls are the gold standard for a seamless look and continuous protection. You get a single unbroken surface with no seam lines for plates to trip on. The downside is pure logistics. The rolls are heavy and awkward to handle solo. You will need to cut them precisely to fit your space and that cutting job is genuinely difficult if you do not have a sharp utility knife and a straight edge. Most gym owners will also need double sided tape or adhesive to stop the edges from lifting. Installation is a full day project.
Stall Mats: The classic 4 ft by 6 ft recycled rubber mat is the cheapest entry point with solid durability. The 3/4 inch thickness handles heavy drops. The problems are a strong initial rubber smell that can linger for weeks and edges that do not always sit flush. You will need to butt them together tightly and tape the seams with black gaffer tape to stop them from drifting apart.
Interlocking Rubber Tiles: These are the DIY homeowner’s best friend. The tiles click together without tools, they are light enough to carry one handed, and they can be cut with a utility knife if needed. The trade off is seam density. Every individual tile creates a potential weak point where edges can lift, moisture can seep in, or the locking tabs can snap over time. For general training and a clean look, they are hard to beat. Industry sources note this format is tool free and easy to uninstall later, which makes it ideal for renters.
EVA Foam Puzzle Mats: These are the colorful interlocking squares you see in kids’ playrooms. Do not use them under heavy weights. They compress, tear, and provide almost zero protection against a dropped dumbbell. They are fine for a bodyweight or yoga corner, but they are not serious gym flooring.
Installation difficulty vs durability — the real trade-off
Here is the insight that most “best flooring” roundups completely miss: the more durable a floor is against barbell abuse, the more painful it is to install correctly. Garage Gym Reviews confirms this pattern, stating plainly that higher durability typically means a harder install.
A 100 lb roll of 3/4 inch vulcanized rubber provides a nearly indestructible surface. To install it, you are going to wrestle that roll into place, mark your cuts, slice through dense rubber with a hooked blade, and likely tape or glue the perimeter. By contrast, a stack of interlocking rubber tiles can be laid down in a 10 ft by 10 ft room in about 25 minutes with a rubber mallet and a straight edge. Yet those tile seams collect dead skin, create trip points if a locking tab breaks, and can be pried apart by a heavy sled push.
The installation difficulty spectrum looks like this: Rubber rolls (hardest) > Heavy stall mats > Interlocking rubber tiles > EVA foam (easiest). If you are willing to invest a single backbreaking Saturday, the rolls reward you with a floor that will likely outlast your time in the house. If you want the floor installed between lunch and dinner and the ability to take it with you when you move, interlocking tiles are your answer. For renters who need to protect a deposit, the equation simplifies even further. Starting with basic home gym essentials and a floor you can remove matters more than maximum durability.
How thick should your flooring be? Protecting concrete and equipment
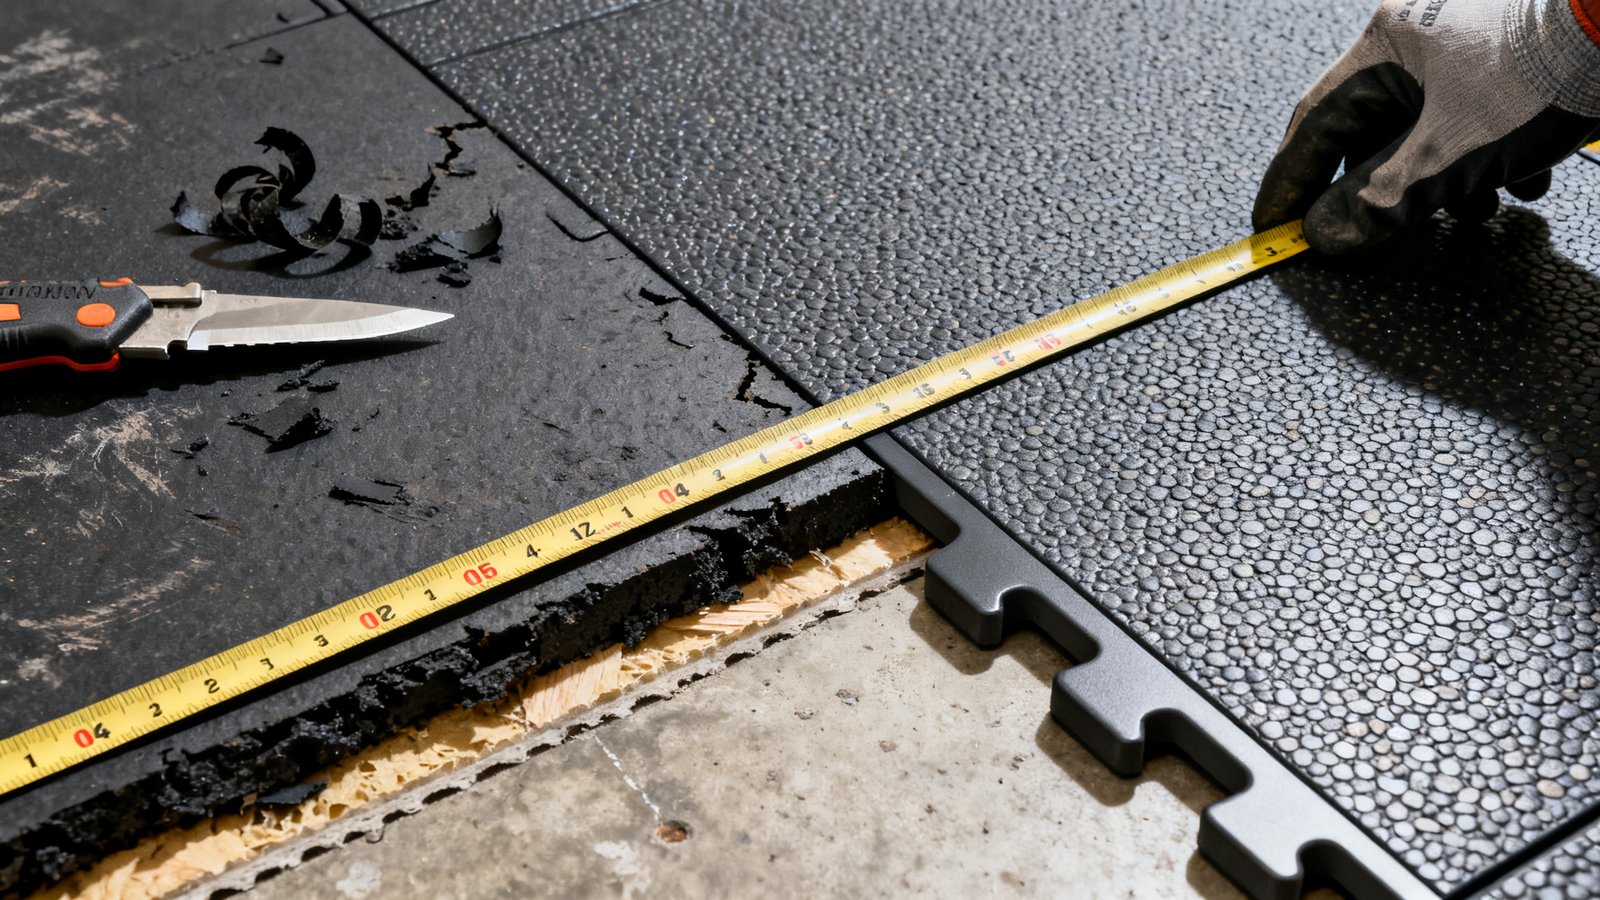
Thickness is your insurance policy. The thinner you go, the more risk you assume for your subfloor. The thicker you go, the more you spend and the heavier the material is to move. Here are the minimums you should follow based on real training use.
For bodyweight work, yoga, and light dumbbells up to 50 lbs that are set down gently, an 8 mm (about 5/16 inch) mat is adequate for comfort and scratch protection. You are not protecting against impact here, just creating a comfortable surface. For general strength training with deadlifts, rows, and occasional drops from knee height, 3/8 inch (about 9.5–10 mm) is your absolute floor. This is the minimum you should ever consider if a loaded barbell will touch the ground. For lifters who work heavy singles and drop bars from waist height or above, 1/2 inch (12 mm) to 3/4 inch (19 mm) rubber is the recommended range. The thicker product gives you a margin of safety against a bad drop that lands plate first with force concentrated on a small area.
If you are pushing into serious Olympic lifting with repeated overhead drops of heavy bumpers, 1/2 inch rubber alone is probably not enough. You need to layer a dedicated lifting platform on top. A standard platform is two layers of 3/4 inch OSB topped with a 3/4 inch rubber mat on the sides and a finished wood center panel. This construction spreads the impact force over a larger area and decouples the weight from the concrete. The rubber layer is your last line of defense, not your only one. Most concrete damage is insurable through thick rubber, but the subfloor crack you do not see right away might cost more to fix than the entire flooring project. When you are also managing how much weight your home gym equipment adds up to, factor in the dead load of a heavy platform plus rubber on your floor structure.
Realistic expectations for noise reduction (what flooring can — and can’t — promise)
You will see product pages claim “noise reducing” as if it is a measurable property. It is not, at least not in any standardized way that lets you compare products. We searched for a specific decibel reduction value across the major soundproof gym flooring apartment product reviews and articles. No source provided a decibel number for any rubber gym flooring product. Living.Fit confirms that rubber rolls at 8 mm or thicker are considered the gold standard for sound reduction, but this is a qualitative rating, not a tested dB improvement.
The Second Skin Stomp Mat, a product designed specifically for impact noise, scored 4 out of 5 for noise dampening in reviews, but again, no specific reduction figure is published. What you can reasonably expect from a thick rubber floor is a change in the character of the noise. The sharp clang of iron plates against concrete becomes a lower, muffled thud. The vibration that travels through the building structure is reduced because the rubber acts as a damper that converts kinetic energy into low grade heat rather than transmitting it cleanly into the slab.
For the best apartment setup, you need a mass layer plus a decoupling layer. This means 1/2 inch or thicker rubber tiles on top of a high density acoustic underlayment. The underlayment adds a resilient channel that breaks the physical vibration path between the rubber and your original floor. This combination is not silent, but it brings heavy lifting noise down to a level where a conversation with a downstairs neighbor about reasonable training hours is a much shorter discussion.
Top complaints and failure modes to avoid when buying rubber gym tiles
Knowing what goes wrong with cheap rubber flooring keeps you from repeating the most expensive mistakes. The most documented failure on an Amazon sold rubber gym flooring tiles product involves the Xspec branded tiles, where the top rubber layer delaminated from the base after a few years of regular use. You step on a seam and the top skin peels up, creating a tripping hazard and exposing the softer inner foam.
Beyond that specific case, the common complaints follow a pattern. Edge rolling is the most frequent. Cheap tiles or mats often arrive with curled edges from being rolled or stacked. If they do not relax flat after a few days in a warm room, you will be fighting a permanent trip hazard. Strong chemical smell is the second most common gripe, particularly with recycled rubber products manufactured overseas where volatile organic compounds are not fully cured out. The smell fades eventually, but not before it stinks up your entire home. Bulk weight and handling difficulty round out the top complaints, especially for stall mats that weigh 90 to 100 lbs each and require two people or a hand truck to move into position.
To avoid these failures, inspect product photos and reviews for edge quality. Look for returns policies that explicitly cover manufacturing defects and odor; most retailers do not refund for smell complaints. Buy from vendors who store their rubber flat, not rolled tight in plastic for six months in a hot warehouse. And if you see tiles priced below $2 per square foot with “rubber” in the title, verify the material. Many cheap listings are recycled rubber mixed with fillers that crumble under load.
Cost + performance decision guide
Use this decision table to find your match based on your budget, space, and training style. If you are balancing these choices while also deciding if a home gym makes financial sense, the flooring budget should be clearly separate from your equipment spending.
| Your Profile | Recommended Flooring | Thickness | Est. Cost/sq ft |
|---|---|---|---|
| Renter, apartment, bodyweight & light dumbbells | 8 mm+ interlocking rubber tiles | 8 mm (5/16″) | $3–$5 |
| Renter, apartment, heavy lifts & deadlifts | 1/2″+ interlocking tiles + acoustic underlayment | 12 mm (1/2″) | $5–$8 + underlayment |
| Homeowner, garage, budget focused | 3/4″ rubber stall mats, taped seams | 19 mm (3/4″) | $2.38 |
| Homeowner, garage, heavy Olympic lifting | 3/4″ stall mats or rolls + plywood lifting platform | 19 mm (3/4″) + platform layers | $2.38–$5 + platform lumber |
| Multi use room, clean aesthetic, moderate lifting | Premium interlocking rubber tiles | 10–12 mm (3/8″–1/2″) | $5–$10 |
Installation tips, tools, and time estimates
A successful install comes down to preparation and having the right blade. Here is what you need for each format.
Interlocking Tiles (Time: 30 min for 120 sq ft): You need a rubber mallet, a straight edge, and a sharp utility knife with a fresh hooked blade for any edge cuts. Lay the tiles out from the most visible corner outward so your cut tiles sit against the least visible wall. Tap the seams together tightly and check that no locking tabs are compressed or broken before you call it done. This is the only format that is truly a one person, zero adhesive job.
Stall Mats (Time: 2–3 hours for 120 sq ft): You need a second person, a sharp utility knife with many replacement blades, a chalk line, and black gaffer tape. Let the mats sit flat in the room for 24 hours to relax curled edges before cutting. Score your cut line multiple times with a straight edge, then make one deep, controlled cut. Rushing this step produces a ragged edge that will bother you forever. After butt jointing the mats, tape every seam with heavy duty gaffer tape to prevent drift and reduce dirt accumulation in the gaps.
Rolls (Time: 4–6 hours for 120 sq ft): Rolls require unrolling, acclimating, measuring, cutting, and adhesive application. Use a hooked linoleum blade in a utility knife and a 6 ft metal straight edge or drywall T square. Apply a pressure sensitive adhesive or double sided flooring tape along the perimeter and every 4 ft to prevent the rubber from creeping. Roll the entire surface with a heavy floor roller or walk every inch of it to activate the adhesive bond. When you are shopping for interlocking gym floor mats as an easier alternative, the installation time savings are real and most DIYers finish without a second helper.
Maintenance, longevity, and replacement risk (what to expect)
Rubber gym flooring does not have a standardized lifespan rating, so warranty terms are your best proxy for expected longevity. Premium interlocking tiles often carry a 5 to 10 year limited warranty. Stall mats typically have none. The failure modes that trigger replacement are edge curl that creates trip hazards, top layer delamination from poor manufacturing, and compression set where the mat permanently indents under heavy equipment and does not recover.
Routine care is simple. Vacuum or sweep the surface weekly to remove dirt and grit that acts like sandpaper under your shoes and plates. Clean spills and sweat with a mild soap solution and a damp mop, never soak the floor. Avoid harsh solvents and oil based cleaners that can degrade the rubber binders. If a tile or mat edge lifts permanently, replace the section. A single damaged tile in an interlocking system can be popped out and swapped in five minutes. A damaged roll section is a much larger repair.
No available data tracks how many home gym owners replace flooring within the first year. Anecdotal reports suggest early replacement almost always traces back to buying too thin for the actual use or choosing foam tiles and then upgrading to rubber after the first drop damages the subfloor. Buy at least 3/8 inch rubber the first time and your early replacement risk drops to near zero unless you receive a defective batch.
Quick buying checklist & 5 questions to ask before you buy
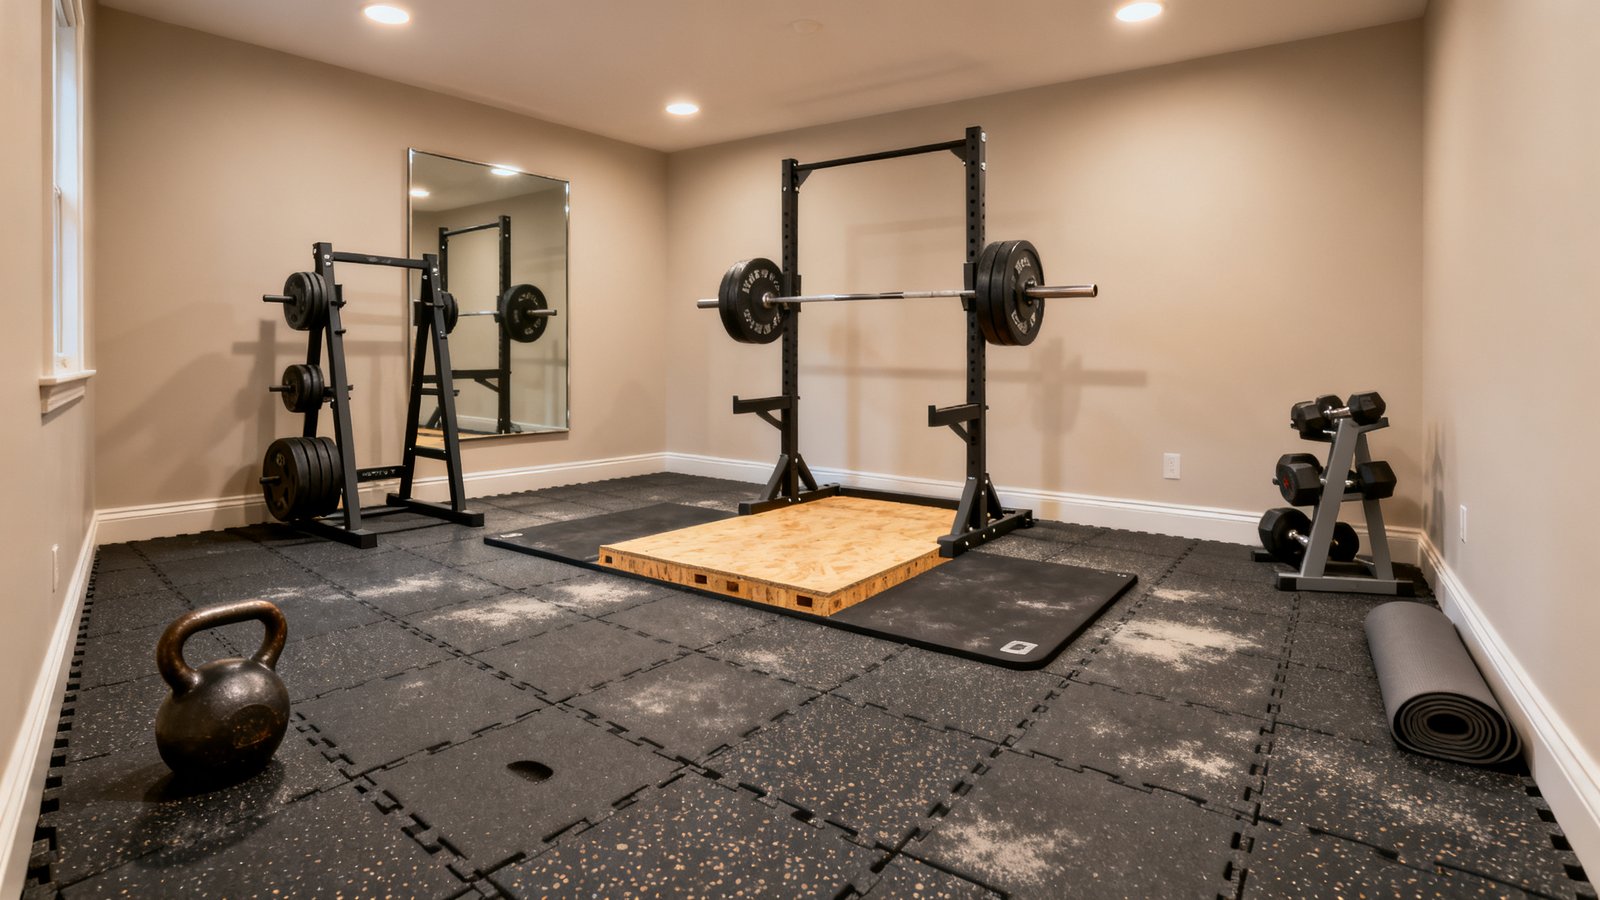
Run through this list before you open a browser tab to shop:
- Measure the exact square footage of the training area, not the whole room. Add 5% for cutting waste and edge adjustments.
- Define your heaviest lift and drop height. If a loaded barbell hits the floor from waist height, you need 1/2 inch minimum. If you snatch or do heavy overhead drops, add a platform to the budget.
- Check your noise constraints. If you share walls or a floor/ceiling, budget for an acoustic underlayment layer beneath your rubber. Thick rubber alone is not a soundproofing solution.
- Set a per square foot budget ceiling. Know that $2.38/sq ft is the rock bottom for durable rubber. Going below that typically means thinner material or foam, neither of which protects concrete from dropped weights.
- Verify the return policy and smell complaint policy. Ask the seller directly if off gassing odor is considered a defect covered by returns. If they say no, expect to off gas the mats outdoors for several days before installation.
Final recommendations & next steps
The best flooring for home gym builds is the one that matches how you actually train, not how you hope to train someday. If you are a renter lifting moderate weights in an apartment, buy 8 mm or thicker interlocking tiles with an underlayment and stop overthinking it. If you are a homeowner deadlifting 400 lbs in a garage and do not care about a locker room aesthetic, buy 3/4 inch stall mats, tape the seams, and spend the saved money on better bumpers. If you want a finished look in a spare bedroom that sees regular heavy work sets, premium interlocking tiles at 1/2 inch thickness sit at the best intersection of looks, protection, and install effort.
Start by measuring your space and writing down your max lift numbers. Then pick thickness first, format second, and brand last. This ordering keeps you from falling in love with a product that is too thin for your actual needs or too expensive for the space you have. If you need a complete setup guide that accounts for flooring alongside all the other gear, the home gym under 500 guide walks you through building a protected training zone without blowing your total equipment budget.
Frequently Asked Questions
What is the minimum thickness for home gym flooring if I deadlift?
The minimum thickness is 3/8 inch (about 9.5–10 mm) for occasional deadlifts with controlled drops. For frequent heavy deadlifts or drops from waist height, 1/2 inch (12 mm) to 3/4 inch (19 mm) rubber is strongly recommended to prevent concrete damage.
Can interlocking rubber tiles handle heavy weights without separating?
Yes, high quality interlocking rubber tiles can handle heavy weights, but the seams are their structural weak point. For exercises that involve lateral force like sled pushes, tape the seam intersections underneath with double sided carpet tape to reduce separation over time.
How do I get rid of the rubber smell from new stall mats?
Wash the mats with a mixture of warm water, dish soap, and white vinegar. Then leave them outside in direct sunlight for 48 hours. The heat and UV exposure accelerate the off gassing process and reduce the odor significantly before you bring them inside.
Is there a flooring that completely silences deadlifts in an apartment?
No. No home gym flooring product provides a specific, guaranteed decibel reduction. The best apartment setup is 1/2 inch or thicker rubber tiles on top of a high density acoustic underlayment. This combination muffles the noise and reduces vibration transmission but does not make deadlifts silent.
Do I need to glue down rubber gym flooring?
It depends on the format. Interlocking tiles typically do not require adhesive. Rubber rolls and stall mats often need double sided flooring tape or a perimeter adhesive to prevent shifting and edge curl. If you are renting and need to remove the floor later, choose interlocking tiles or use tape instead of permanent adhesive.